
If you have not been to Disney World in a minute you will see there’s a lot of changes, one big change is that Magical Express is no longer a thing. Well….kind of. Mears used to run the transfers on behalf of Disney, the big differences were; it was free and the buses were wrapped with Disney themed images.
Fast-forward to now! You can still get to Disney by taking almost the same buses and 100% in the same location, but you have to pay, and the buses do not have the Disney themed images on the side. You have options, you do not have to transfer with Mears. However, we have found it to be reliable for our clients and also more cost-effective.
Some other options would be to use ride-share such as; Lyft and Uber. You can also use our preferred transfer company ACE which is a private transfer company (THEY ARE STELLAR) or you can use Mears. Mears offers several levels of service, we have used all of them and we are very satisfied!
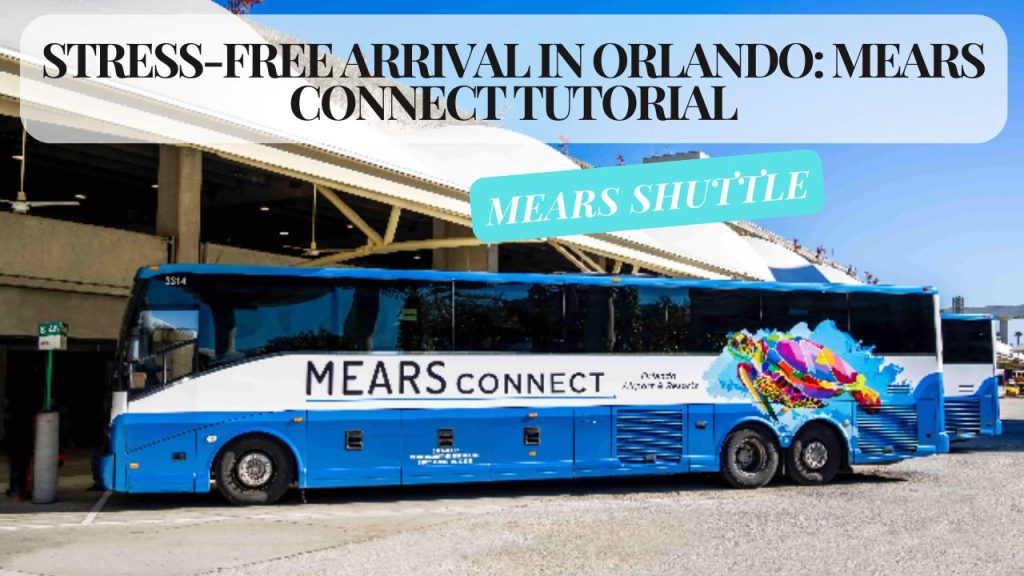
Welcome to the magic of Orlando! As you touch down at Orlando International Airport (MCO), excitement for your Disney vacation is likely bubbling over. But first, you need to get to your enchanting destination. That’s where Mears Connect comes in, offering a smooth and convenient transfer to your Disney Resort.
In this step-by-step guide, we’ll navigate you through the Mears Connect arrival process, ensuring you have a stress-free start to your magical adventure.
Before we begin click below to download maps and information for Orlando International Airport.
- CLICK HERE for Maps of Terminals A & B.
- CLICK HERE for a Map of Terminal C.
- CLICK HERE for Airline Locations A & B
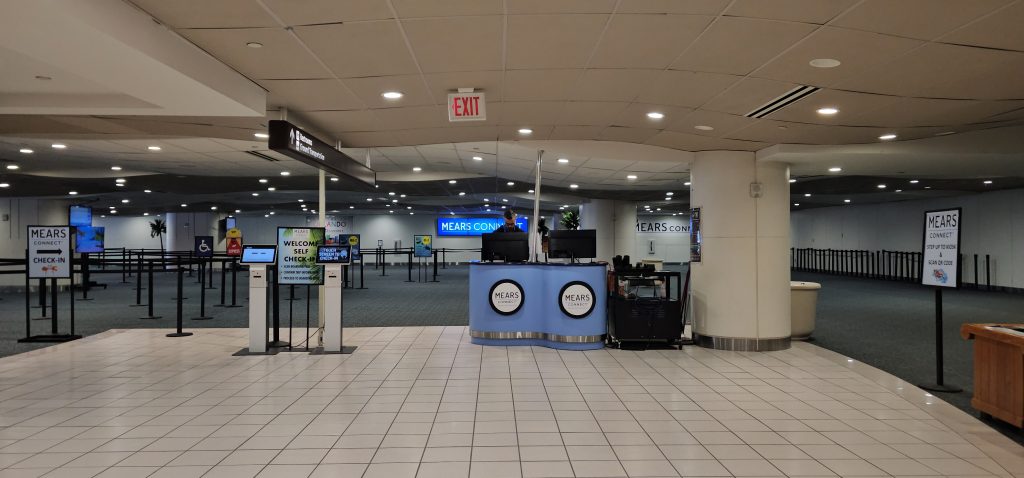
Step 1: Locate the Welcome Kiosks
(Image: Map of MCO airport highlighting the Mears Connect Welcome Kiosks location in Terminal B and C)
Once you’ve collected your luggage, head to Terminal B or C, Level 1 for Ground Transportation.
- Terminal B: Look for the large Mears Connect sign at the end of the terminal. Bus slots are located at B42-B48.
- Terminal C: The check-in desk is conveniently located next to the sole ground transportation exit door.
Pro tip: Arriving at Terminal A? No worries! Simply proceed to Terminal B on level 3 and then go down to level 1.
Step 2: Check in and Receive Your Boarding Pass
At the Welcome Kiosk, all members of your party will need to check in to receive your vehicle assignment. This will generate your boarding pass with a handy QR code.
Pro tip: Save a screenshot of your QR code in your photos or print your boarding pass in case you have trouble accessing your phone.
Step 3: Board Your Mears Connect Shuttle
(Image: Passengers boarding a comfortable Mears Connect shuttle bus)
Your boarding pass doesn’t have a set departure time. When you’re ready to head to your Disney Resort, proceed to your assigned bus. Relax and enjoy the comfortable ride as you soak in the first glimpses of the magical world around you.
Pro tip: Need assistance with your luggage? Don’t hesitate to ask the friendly Mears Connect staff.
Bonus Tips for a Smooth Arrival:
- For more information or assistance, visit https://www.mearsconnect.com/ or call 407-423-5566 you can also visit your Custom Travel Planner that Guru Travel sent you.
- You’ll receive email and text notifications 23 hours before your arrival and 15 minutes before your departure from your resort.
- Remember, everyone loves a little magic! Capture the excitement of your arrival with photos or videos.